The Automattic for Agencies dashboard provides a centralized site management experience. From this dashboard, you can monitor uptime, scan for malware, or use other Jetpack based features like backups if installed.
Sites hosted at any host can be managed from the dashboard by connecting them using either the Automattic for Agencies Client Plugin or Jetpack. Connected sites also attribute WooPayments revenue share to your account.

On the Automattic for Agencies dashboard, you can click ‘Add sites’ to begin connecting a site you own using one of the following options.
If you have an existing site at WordPress.com which has a plugin compatible hosting plan but is not showing on your dashboard, you’ll be able to select it from this list Connect any WordPress.com site on which your Automattic for Agencies account is an administrator to the dashboard.
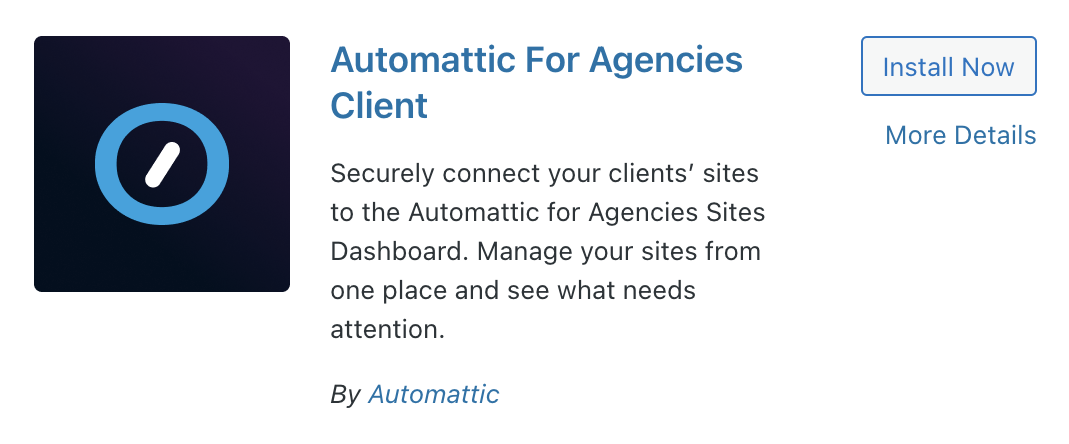
We recommend using this plugin to connect your sites because it is a lightweight and simple option.
Clicking this option will remotely install the Automattic for Agencies plugin on your client’s sites. You will need to enter the local username and password to install the plugin and make that connection.
This option allows you to remotely install Jetpack on any client site. It will automatically connect the site to your WordPress.com account and cause the site to show up on your Automattic for Agencies dashboard. You will need to enter the local username and password to install that plugin and make that connection.
Alternatively, you can manually add sites by following the steps below at each site you wish to add.
You can add a site to Sites via any official Jetpack plugin within the WordPress.org plugin repository.
- Within wp-admin, navigate to Plugins > Add new Plugin.
- Search for “Jetpack” or any specific Jetpack plugin you’re looking for.
- Install and activate your chosen Jetpack plugin.
- When prompted, set up your Jetpack plugin and connect your WordPress.com account by following this guide.
- Your site will automatically appear within Sites.
If there is a Jetpack connection present on the site, you’ll want to ensure that it is disconnected and reconnected to the account you use with Automattic for Agencies. This is because if the site is connected to a different account via Jetpack, it will not show on your dashboard. You can follow this guide to do that.
To get started, you will need to be logged into the site’s WP Admin with your Administrator credentials.
To Connect Your Site to the Sites Dashboard:
- Within wp-admin, navigate to: Plugins > Add New Plugin.
- At the top of the page, search for “Automattic for Agencies” and press “Install Now”.
- Once installed, click “Activate”.
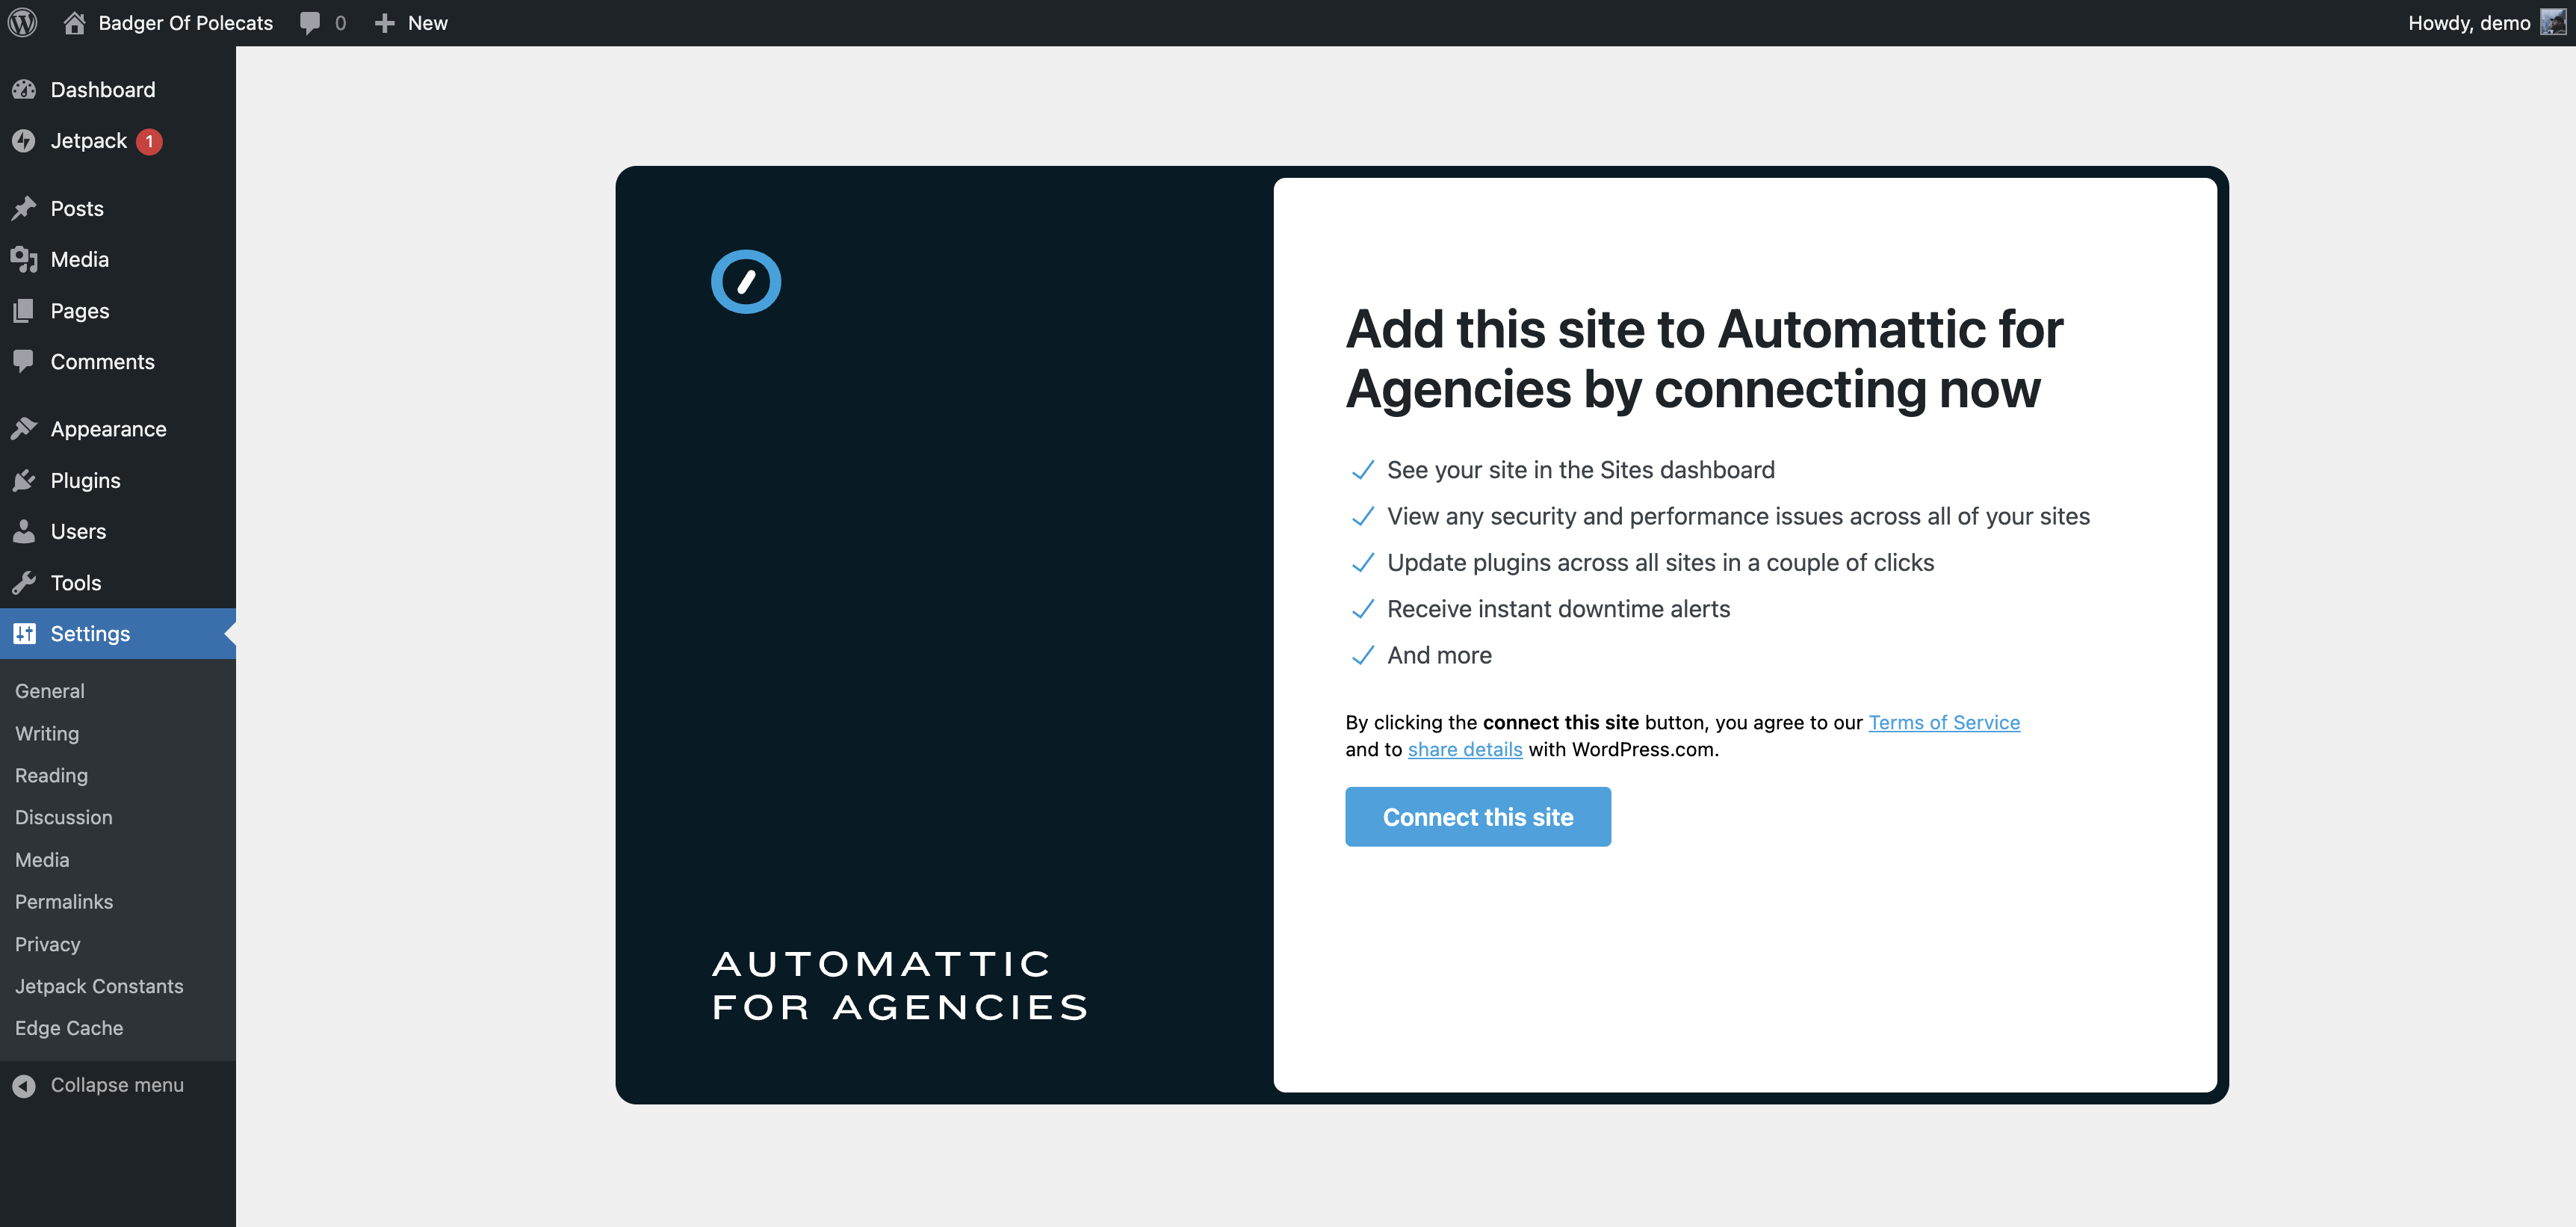
- On the next screen click “Connect this site”.
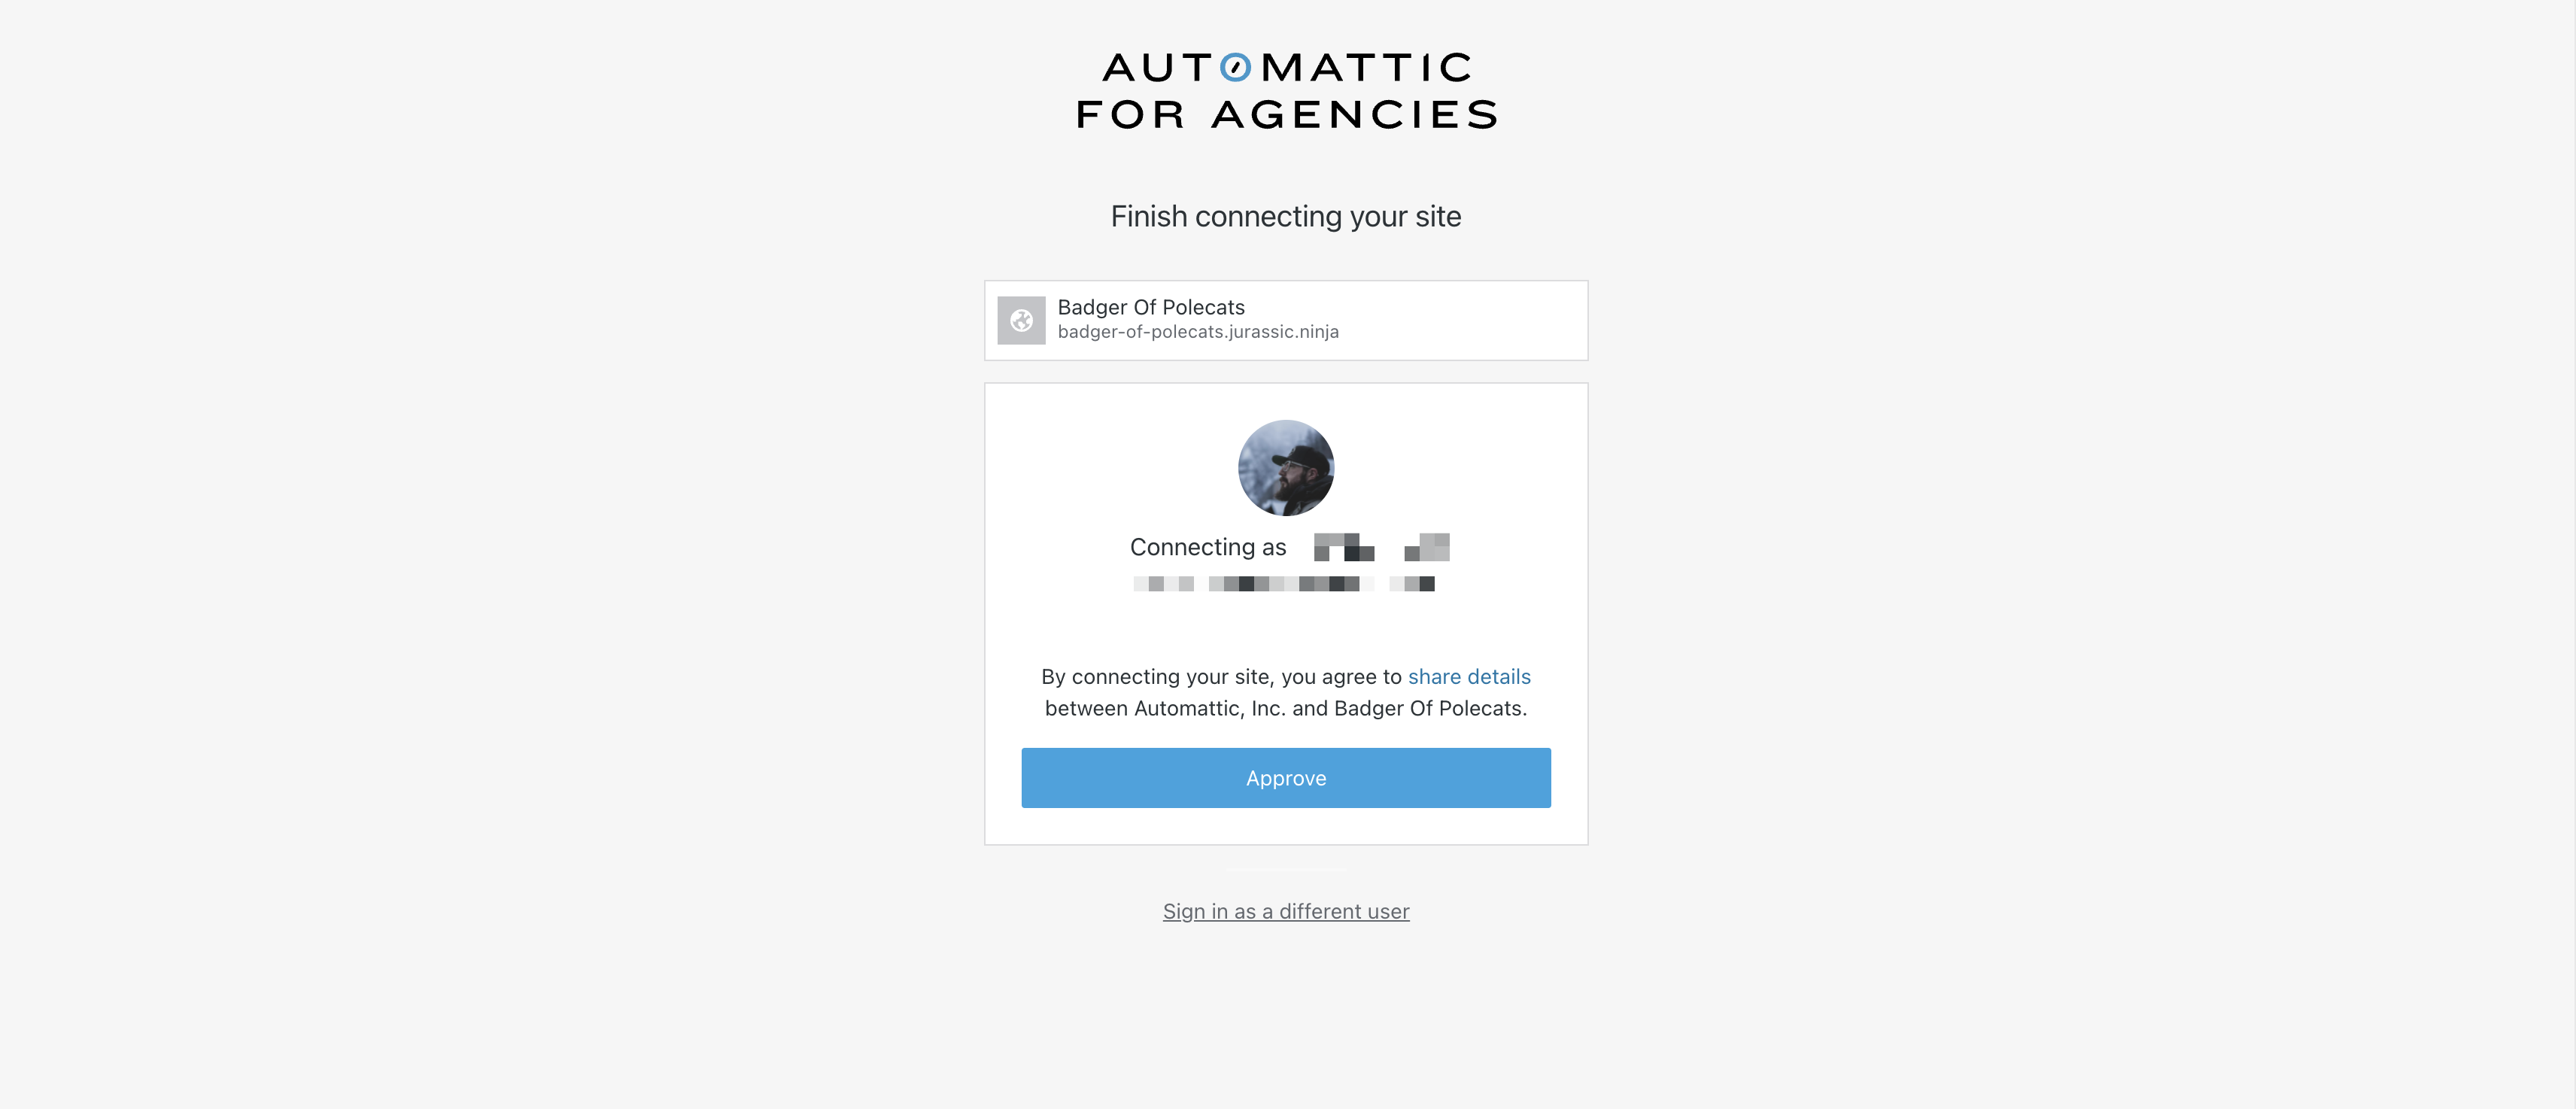
- Important: If there is a Jetpack connection to a WordPress.com account present on the site already, the Automattic for Agencies Client plugin will offer that as a default for connecting the site.
- If the email address matches your A4A account, click “Approve” to connect this site to the WordPress.com user you signed up for Automattic for Agencies with.
- If the email address does not match your A4A account, click “Sign in as a different user” and provide the agency’s A4A account email address.
- You can connect multiple WordPress.com accounts to Jetpack on one site. When multiple users (i.e., multiple WordPress.com accounts) try to establish connection, this won’t replace the “original” connection, but will be considered as multiple connections.
- The site will now show up in the Sites Dashboard.
For full troubleshooting, please see this guide: https://agencieshelp.automattic.com/knowledge-base/fix-automattic-for-agencies-plugin-issues/
